February 8th, 2010

Now that Paul Guyot’s Einstein, the Newton emulator for Mac and Windows, is available for Snow Leopard, users with up-to-date Macs can play around with the Newton OS.
This seemed like the perfect time to give Einstein a spin on my new iMac.
First, I downloaded the latest Einstein app from Google Code, plus the Users Manual. The Users Manual is handy because it gives instructions on how to grab a ROM image of your OS 2.x Newton device. In my case, I’m grabbing my eMate’s ROM with a package of file called Lantern DDK (thanks to Macintosh Garden).

Lantern DDK gives you ROMs from an eMate and an MP2000, along with a few other pieces of debugging software.

Einstein has you pick which Newton device you want to emulate, and point it toward a viable ROM image. Then you pick how much RAM you want the thing to have, native or full-screen resolution (warning: full screen is a bear), and how to run the screen and sound.

After a few minutes of booting, Einstein pops up with a Newton screen showing that it’s working fine.

From there, the pseudo eMate runs through the name, address, and time setup process. What’s nice about Einstein is that it grabbed my Address Book information automatically.

Then you get a simple Notes interface. And that’s about it, at least from what I saw, so it could be that the ROM only has certain features from the eMate. But it’s a fun little project to get running on your Mac. Note, though, that Einstein also has a Windows version.
[Thanks to Riccordo Mori for the inspiration to give it a try, and NewtonTalk for the link.]
Posted by davelawrence8 at 6:13 am on February 8th, 2010. Categories: DIY, newton. Tags: einstein, eMate, google code, hammer, messagepad, newton, newtsbug, OS, rom. Subscribe via RSS.
November 24th, 2008
Boy, do I feel like a goober. A commenter on my “DVD-ROM doom and gloom” post, Seele, pointed me to a how-to article on switching the optical drive in a blue and white Power Macintosh G3. Here I had been having issues getting the drive tray out from the inside of my PowerMac G4; it turns out I was going about it all wrong.
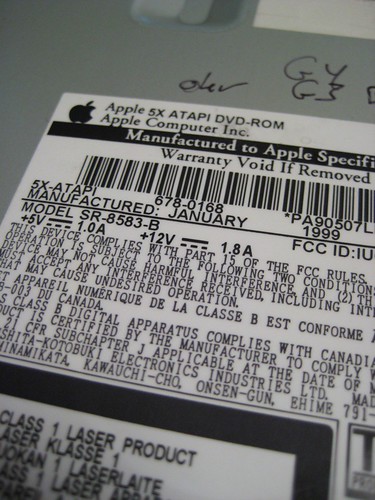
My objective was to switch out the CD-ROM drive in the PowerMac with a DVD-ROM drive I picked up on eBay. Looking back at the original post, you can see where it all went wrong:
Early on, though, I found several obstacles – including ill-placed screws holding the CD-ROM drive (one placed behind the drive, facing the other side of the PowerMac, which is impossible to get to) and power supply in place. The power supply’s screw was put in such a spot that one would need an L-shaped screwdriver of some sort, while the CD-ROM’s hidden screw requires the abilities of Plastic Man.
In other words, I was trying to unscrew screws that couldn’t be unscrewed. What commenter Seele pointed out to me was I needed to start in the front of the PowerMac G4 by taking off the plastic drive covers.
A quick Google search brought me to this classic Quicktime video from Apple about how to get it done. Watching that, I couldn’t believe my own foolishness. Why hadn’t I just did some research before plowing into this project?
More… »
Posted by davelawrence8 at 6:00 am on November 24th, 2008. Categories: DIY, lowend, macs. Tags: apple, cd, comment, DIY, drive, dvd, g4, install, powermac, project, quicktime, rom, screw, video. Subscribe via RSS.
September 2nd, 2008
If you’ve ever thought about digging in and upgrading your PowerMac G4 (Yikes! model), here’s a tip:
Think again.
After several successful projects involving simple upgrades like RAM and a PCI USB 2.0 card, a recent attempt at installing an Apple-made DVD-ROM drive was a complete disaster. Sadly, it’s because of the design of the PowerMac itself; when you open it up, it looks customizable, but actually trying to take the thing apart is a nightmare.
And it’s all the screws’ fault.
More… »
Posted by davelawrence8 at 6:43 am on September 2nd, 2008. Categories: DIY, lowend, macs. Tags: apple, DIY, dvd, frankenmac, g4, mac osx, powermac, rom, upgrade, yikes. Subscribe via RSS.