Newsstand: A Google News RSS Reader for Mac OS 9 – A Conversation with Developer Alex Robb
June 23rd, 2021
I saw an interesting post on Reddit this week: someone had developed an RSS reader for Mac OS 9.
That’s my kind of project, so I reached out to the developer, Alex Robb, about how (and why!) he came up with his Google News reader, Newsstand.
Tell us about yourself: Who are you, and what do you do?
I’m Alex Robb, I live in Chicago, and I work for a tech company as an analyst. I’m in my 30s, and I’ve been an Apple fan since I was a kid. My first Mac was a Macintosh Performa 5215CD, and even as a kid I played around with pro-level software like Adobe Photoshop 4 and REALbasic. I hadn’t played with those apps in decades, but quarantine and shelter in place allowed me to pick up this hobby again.
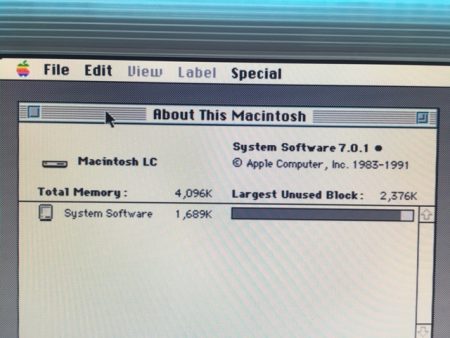
Developing for Mac OS is (a) amazing and (b) anochronistic! How much of a classic Mac user are you?
Developing for Mac OS 9 was a great experience, especially using an app like REALbasic, which is what I used to develop Newsstand.
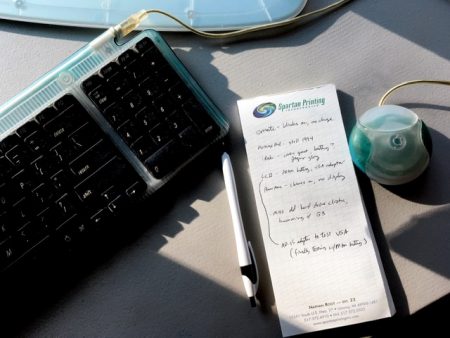
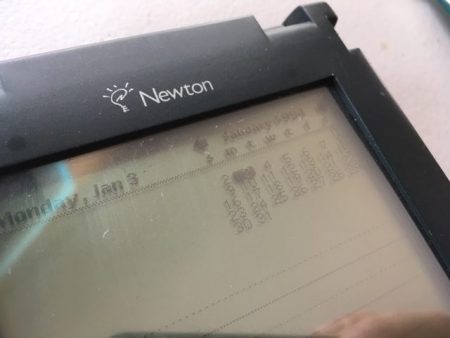
I have six classic Macs: a PowerBook G3 PDQ, a PowerBook G3 Pismo (which I use the most), an iMac G4, a PowerMac G4 Cube, a 12″ PowerBook G4, and a Mac Mini G4. I also have a few generations of iPods and decades of Apple posters and pamphlets. I’m keeping an eye out for a Newton MessagePad and an eMate 300 to add to my collection too.
While I love playing old games on my Macs, I wish I was able to do more with them. The web is pretty limited on Mac OS 9, so I created Newsstand as a way to get a lot more use out of my Macs. With Newsstand, I’ve used my PowerBooks more than my M1 MacBook Air over the last few weeks.
I saw you took inspiration from the 68k.news site (which I love). What made you think that approach needed to have an app on OS 9?
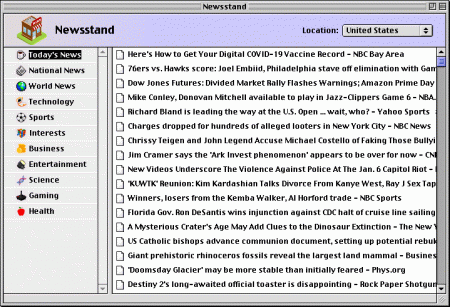
I love Action Retro’s 68k.news, and I’m a daily reader of Google News on my phone. The inspiration for creating a standalone app though came from Apple’s eWorld service. eWorld’s news section was called Newsstand, which is where I got the name. I wanted a classic app that felt like reading the news in eWorld back in 1995. eWorld’s Newsstand had multiple sections, so I added a little over 200 topics to explore in Newsstand.
I’ve also been a fan of clean, Apple Platinum interfaces. Apps like REALbasic itself and MacAnalysis are some of my favorite examples. By taking the news out of the browser, I was able to create an original classic Mac interface that feels at home in the Applications folder.
What were some challenges you ran into in developing this app?
I encountered several. To make things even more difficult, I’ve never written any software in my life.
When I started development on Newsstand, I thought I could take the general idea Action Retro had with 68k.news and render the Google News RSS feed as a web page in an app. But my first barrier was that I couldn’t use REALbasic’s HTMLViewer control to display HTML. I think that’s because Mac OS 9 doesn’t have WebKit like Mac OS X. I ended up using a TCP/IP socket connection in REALbasic to connect to my web server, and then I had to parse the XML into a format that was usable by Newsstand. On my web server, I wrote the PHP scripts to pull the RSS feeds and process them as XML feeds. These were all heavy lifts for me. The end result of Newsstand though looks a lot more natural than an HTMLViewer anyway, and I’m really happy with how it turned out.
The second barrier I encountered was a lack of troubleshooting support. StackOverflow doesn’t exist for REALbasic. There weren’t forums where I could work through my technical obstacles. I had to rely on the user guide and language reference to build the app. Some simple things, like figuring out how to get File > Close to actually close a window, took me longer to figure out than I’d like to admit (it’s just: self.close).
The Xojo programming forum is as close as I could get to user help, but they quickly became suspicious of what I was doing since Xojo has a lot of the properties built out that I needed.
The last barrier I had to work through was the graphics. Mac apps can only display PICT files, not JPGs or GIFs. Adobe Photoshop 2020 can open PICT files, but it can’t save them. I ended up creating all of the graphics in Mac OS 9 using Adobe Photoshop 4.0.1.
These barriers pushed me to think creatively and, in the end, I felt I had a good-looking app.
What kind of user did you have in mind for Newsstand?
I built the app for myself. When I finished Newsstand though, I was proud of it and began sharing it. The Classic Apple community is a lot larger than I thought.
Do you see yourself doing versions of Newsstand for earlier Mac OSes? Mac OS X?
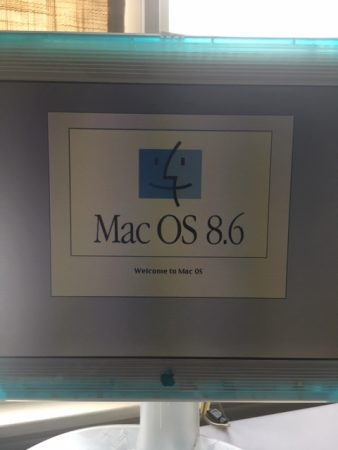
I’ve heard from users that Newsstand works on Mac OS 8.6. I may be able to use earlier versions of REALbasic to compile a version from Mac OS 8 too. But if I wanted to create a version for System Software 7.5 or earlier, I think I would need to rewrite the application in C, and I know that will be a difficult undertaking. I think Mac OS X would be a relatively easy port for Newsstand, and I’ll consider it if there’s demand.
Tell me about what else you’ve been working on? Any other classic Mac apps in mind?
I felt like I developed a new skill set and workflow by building Newsstand, and I’d like to keep creating more classic Mac applications. I have future updates planned for Newsstand, like adding your own feeds, and I have a few ideas for other apps I think could be nice additions to the classic Mac library.
I’d love to see others take on Mac OS 9 development too. If you’re even slightly interested in attempting to build your own Mac OS 9 app, definitely try REALbasic 5.5 and see what you can do with it.